How to Configure a Video in Atomicat
Learn how to upload, configure, embed, manage, and analyze videos using AtomicPlayer inside Atomicat. This guide covers everything from your first upload to embedding multiple videos on one page and reviewing video analytics.
What is AtomicPlayer?
AtomicPlayer is Atomicat's built-in video hosting and management solution. It allows you to:
- Upload videos directly to AtomicPlayer
- Embed videos anywhere on your Atomicat pages
- Configure autoplay and playback settings
- Customize the video player appearance
- View video performance metrics
- Manage multiple videos from one dashboard
AtomicPlayer is designed for hosted sales videos, VSLs, and conversion-focused pages. The Page Builder Video element also supports YouTube, Vimeo, and other external players when you do not need Atomicat-hosted files. See AtomicPlayer overview and Video element for the full comparison.
Before You Start
Make sure you have:
- Access to AtomicPlayer in your Atomicat workspace (sidebar under Tools).
- A supported video file and a unique video name (duplicates in your library are blocked).
- A page ready in the Page Builder if you plan to embed the video.
- Permission to publish the page after connecting the video.
Uploading a Video to AtomicPlayer
Before you can use a video on your page, upload it to AtomicPlayer first.
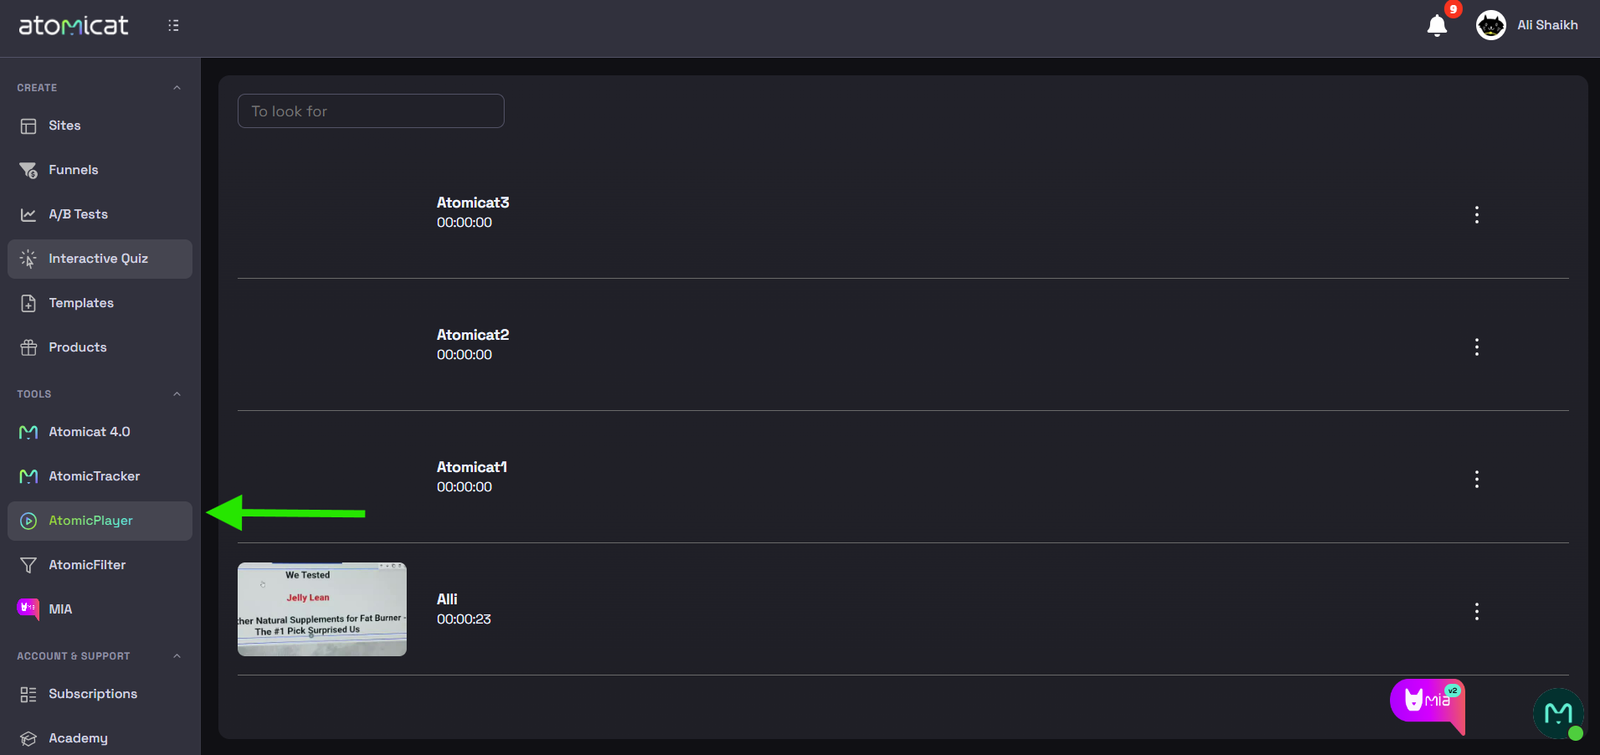
Step 1: Open AtomicPlayer
After logging into Atomicat:
- Open the sidebar.
- Click AtomicPlayer (under Tools).
You land on the My Videos page where all uploaded videos are listed.
Step 2: Create a New Video
Click + New Video in the top-right corner.
Step 3: Add Your Video
In the upload modal:
- Enter a Video Name (required; must be unique in your library).
- Browse and select the video file from your computer.
- Start the upload and wait for processing to finish.
When the upload completes, the video appears in My Videos with a thumbnail and duration when available. Large files may use resumable upload; if a session expires, delete the partial row and upload again. See Upload a video for details.
Managing Videos
The My Videos screen lists every uploaded video.
Each row typically shows:
- Thumbnail preview (when generated)
- Video name
- Video duration
- Options menu (⋮)
Options menu actions
| Action | What it does |
|---|---|
| Analytics | Opens the Metrics tab for that video. |
| Settings | Opens the video configuration screen. |
| Assign to project | Tags the video for a project so it is easier to organize pages, funnels, quizzes, products, videos, and MIA chats by campaign or client. |
| Delete | Permanently removes the video (confirm carefully). |
Use the search bar to filter videos by name as you type. You can also click a thumbnail to jump straight to Settings. See Manage videos.
Adding an AtomicPlayer Video to a Page
Once a video is uploaded, connect it to any Atomicat page.
Step 1: Open the Page Builder
- Go to Pages.
- Open the page you want to edit.
- Click Edit to open the Page Builder.
Step 2: Add a Video Element
Drag and drop a Video element onto the page canvas, or add it inside the target section or container.
Step 3: Select AtomicPlayer
In the Video element settings:
- Open the video source controls.
- Choose AtomicPlayer (or Use AtomicPlayer, depending on your builder version).
A Select AtomicPlayer Video button appears.
Step 4: Select Your Video
- Click Select AtomicPlayer Video.
- In the popup, choose the uploaded video from your library.
- Save the page in the builder.
The video is now linked to the page. Publish the page so visitors see it on the live URL. See Embed AtomicPlayer on pages.
Adding Multiple Videos on the Same Page
AtomicPlayer supports multiple videos on a single page.
Repeat this workflow for each video:
- Add another Video element.
- Select AtomicPlayer as the source.
- Choose a different uploaded video.
Each Video element works independently. Avoid giving multiple videos competing autoplay or delay behavior on the same page. Test the published URL on desktop and mobile.
Replacing or Updating a Video
There are three common ways to change video content on an existing page.
Option 1 (Recommended)
- Open the Video element on the page.
- Click the AtomicPlayer video selector.
- Choose a different uploaded video.
The new video replaces the previous one. Publish the page again.
Option 2: Change the video source type
If you no longer want AtomicPlayer for that block, change the Video player or Video source to another supported option such as YouTube, Vimeo, or an external embed. Available options depend on your plan and the Video element configuration. See Video element.
Option 3: Rebuild the block
Delete the existing Video element and add a new one with the correct source and settings.
After any AtomicPlayer settings change (thumbnails, Magic Autoplay, resume, and so on), republish Atomicat pages or copy a fresh external embed so visitors load the updated configuration.
Configuring Video Settings
Each uploaded video has a Settings tab where you customize player behavior. Open it from My Videos → ⋮ → Settings or by clicking the video thumbnail.
After changing settings, click Save editions. Atomicat reminds you to update embed code on pages—on Atomicat pages, republish; on external sites, copy embed again.
Basic video information
| Field | Purpose |
|---|---|
| Video Name | Identifies the asset in your library and settings. |
| Language | Drives localized player or helper copy where supported. |
Mini Hook
Mini Hook is an optional timed image overlay during playback—useful for a short visual beat mid-video (bonus graphic, testimonial snapshot, or urgency badge) without editing the full timeline. Upload artwork, set start and end seconds on the range slider, then Save editions. Availability can vary by video type and plan. See Mini Hook.
Video Data (thumbnails)
The Video Data section handles still images around playback:
| Image | When it appears |
|---|---|
| Initial Thumb | Poster shown before play starts (unless overridden by Magic Autoplay artwork). |
| Pause Thumb | Optional image shown around paused states in the player. |
| Exit Thumb | Optional art for certain leave or completion flows. |
Magic Autoplay uses a separate image upload—do not confuse it with the initial poster. See Thumbnails, pause, and exit image.
Magic Autoplay
Magic Autoplay replaces or augments raw browser autoplay with a designed prompt:
- Standard mode — Built-in Atomicat animation.
- Custom image or GIF — Your own creative asset before playback starts.
When the viewer engages, playback can restart from the beginning so the full VSL is heard from the top. Browsers still enforce autoplay rules—mute is often required on mobile. See Magic Autoplay.
Embed settings
Video size
- Responsive — Fluid sizing that adapts to the container (recommended for most landing pages).
- Fixed — Writes explicit width and height; both dimensions are required before save.
Guidance (orientation)
- Horizontal — Standard landscape presentation.
- Vertical — Portrait-style presentation for mobile-first creatives.
Primary color
Sets the player accent color used in the hosted player chrome.
Playback options
| Toggle | Behavior |
|---|---|
| Smart Progress | Progress bar moves faster early and slower later to improve perceived length on long VSLs. See Smart Progress. |
| Autoplay | Attempts automatic playback; Atomicat pairs this with Mute for browser compatibility. |
| Preload | Lets the browser or player prepare media before play. |
| Mute | Starts playback without sound. |
| Magic Live Streaming | Adds simulated live atmosphere (such as a viewer count) to a pre-recorded file—not a true live broadcast. Review compliance before use. See Magic Live Streaming. |
| Magic Resume | Returning visitors can continue watching near their last position when the browser supports it. See Resume play. |
| Show Controls | Shows or hides player controls. |
| Allow to Pause the Video | Writes pause permission into the embed. |
| Loop | Replays the video when enabled. |
Playback speed
Choose a default playback speed from the dropdown (for example 1x). When a non-default rate is selected and saved, it is written into the embed configuration.
Authorized domains
Control where the video can load:
- Add specific domains from your sites or external hosts.
- Use Allow all origins only when you intentionally accept embedding from any domain.
Required for reliable playback on custom domains and external sites. See Authorize a domain.
Embed code
AtomicPlayer generates embed code after you Save editions:
- JavaScript embed code — Hosted player element plus bootstrap script.
- iFrame code — Alternative embed format for external hosts.
Use Copy embed for external websites. For normal Atomicat pages, select the video in the Video element and publish—you usually do not paste the snippet manually.
Viewing Video Metrics
Open Analytics from the row options menu (⋮ → Analytics) to review performance.
Available metrics
Depending on data availability, the dashboard may show:
| Metric | Meaning |
|---|---|
| Impressions | Total views of the video player. |
| Unique Impressions | Distinct viewers or sessions counted for impressions. |
| Plays | Times playback actually started. |
| Play Rate | Plays divided by qualified views (wording follows the UI). |
| Engagement | Attention or scroll-style engagement proxies where enabled. |
| Minutes watched | Total watch time for the selected period. |
Metrics can include external embeds on authorized domains, not only Atomicat pages. New uploads may take time to populate—wait for processing before making decisions. See Video metrics.
Time filters
Filter metrics by date range, for example:
- Last 7 days
- Last 14 days
- Last 30 days
- Since always
- Custom range (when supported)
Charts reflect the selected period. Use consistent date windows when comparing before/after player setting changes.
Best Practices
- Upload high-quality source files and use clear, descriptive names.
- Set meaningful Initial Thumb and Pause Thumb images for mobile traffic.
- Enable autoplay only when it fits the page experience; test muted autoplay on real devices.
- Save editions and republish after every settings change.
- Authorize domains before sending traffic to custom URLs or external embeds.
- Review Metrics regularly to understand play rate and engagement.
- Organize videos with Assign to project before scaling across funnels and pages.
Related Docs
- AtomicPlayer overview
- Upload a video
- Video settings
- Embed AtomicPlayer on pages
- Apply video delay on a page
FAQ
Can I use the same AtomicPlayer video on multiple pages?
Yes. Upload once in My Videos, then select the same asset in multiple Video elements across different pages. Republish each page after connecting or changing the video.
Can I add multiple videos to one page?
Yes. Add multiple Video elements, set each to AtomicPlayer, and choose a different uploaded video per element. Test autoplay and delay so videos do not conflict.
Do I need to upload the video every time I use it?
No. After upload, the video stays in your AtomicPlayer library and can be reused on any page through the video selector.
Can I replace a video without rebuilding the page?
Yes. Open the Video element, click the AtomicPlayer selector, and choose a different library video. Publish the page when finished.
Can I embed the video outside Atomicat?
Yes. Save editions in video settings, authorize the external domain, click Copy embed, and paste the JavaScript or iFrame code on the external site. See Embed AtomicPlayer on pages.
What does Assign to project do?
It tags the video for a project workspace so videos, pages, funnels, and related assets stay organized by campaign, client, or offer. See Projects.